Nevermind
Hoshigaki: Dried Persimmons at Home
Share

Hoshigaki: Dried Persimmons at Home

From her new book, Japanese Home Cooking: Simple Meals, Authentic Flavors, cookbook author and Japanese cuisine authority Sonoko Sakai shares her process for hoshigaki, or dried persimmons.

Every fall around the time the Hachiya persimmons start to blush, I get calls from a number of my friends who have these trees in their yards. They know I adore kaki, persimmons. It is the single fruit that makes me yearn for Japan. I picture my mother serving tea with persimmons. In Greek, persimmons are called kaki diospyros which some historians have construed as “divine fruit.” Their honey-like sweetness and orange hue restore my spirit. “They’re all yours if you want them,” my friends generously offer. Some even help pick the fruit, which is no easy task. You don’t want bruised or cracked fruit. 

With persimmons, I make hoshigaki, an ancient Japanese method of drying persimmons; the recipe is in my new book, Japanese Home Cooking: Simple Meals, Authentic Flavors. The Hachiya variety is not edible when they are firm. Their flesh is intensely tannic and bitter. You have to let the fruit ripen until it turns pulpy and jelly-like. To make hoshigaki, however, you need to pick the fruit when they are ripe and pumpkin orange in color, but still quite firm to the touch. This takes a bit of monitoring—that means examining the fruit on a nearly daily basis during persimmon season. You check the color and firmness. You keep an eye on the birds, squirrels, raccoons and deer—the critters most likely to check on the fruit’s ripeness as well. 

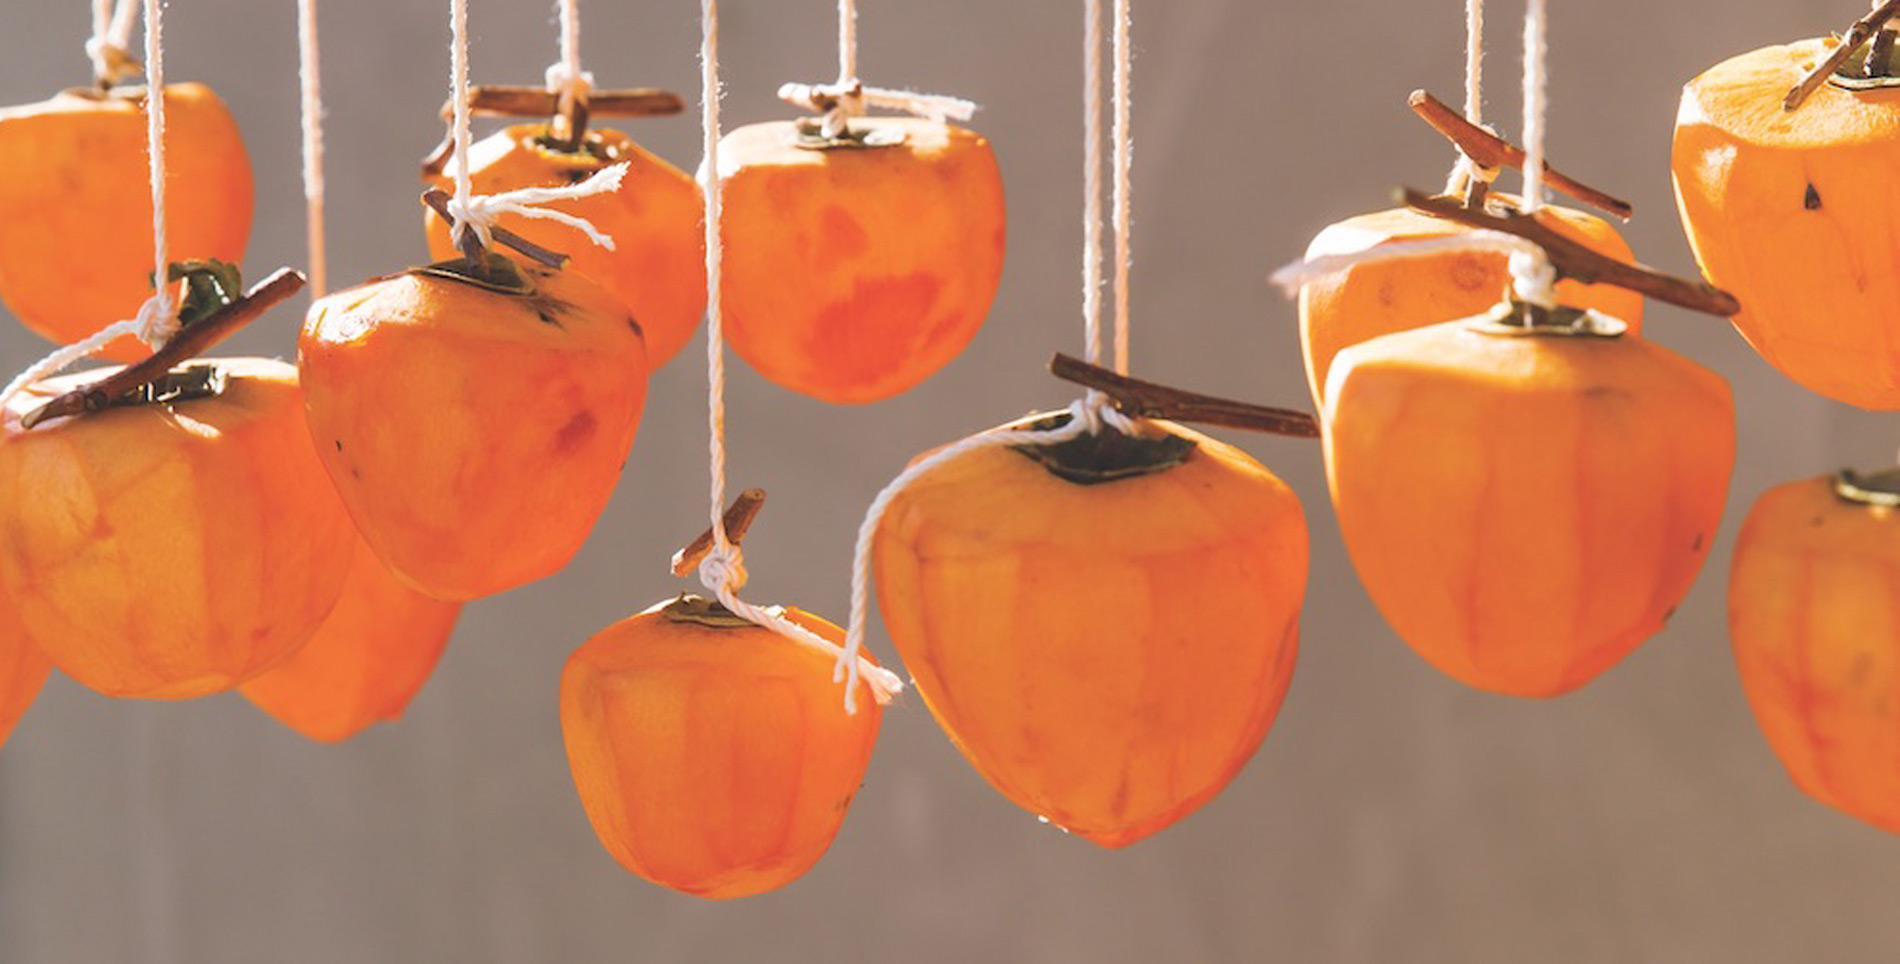
After harvesting the persimmons, they must be washed to remove any dirt. They are then peeled, hung and gently massaged by hand daily for about a month until they shrivel and dry and their natural sugar dusts their surface white. It’s a true labor of love. I used to hang the fruit on a laundry rack, but my husband has built me large wooden racks with rows to hang the persimmons. The orange balls hang like ornaments and send the message of fall. Hoshigakis are chewy, mildly sweet, and pair particularly well with green tea. I am indebted to nature and to the kindness of my friends and family for what is my favorite seasonal dessert.

Sonoko Sakai
The Editor's Note

Sign up for The Editor's Note to receive the latest updates from Life & Thyme and exclusive letters from our editors. Delivered every weekend.

Recipe

Hoshigaki

Equipment Needed:

  • Bucket (metal or plastic)
  • Box of noncorrosive stainless-steel screws (24 screws)
  • Kitchen string
  • Laundry rack or rod to hang the persimmons
  • Small fan
  • Newspaper to line the floor
  • 24 or more red Hachiya persimmons, firm to the touch and dark orange in color, with ½ inch of the branches attached

Method:

Wash the fruit in a bucket of water and dry with a towel. Sort them by size—large, medium and small. When possible, it is best to use larger persimmons, which will allow for more shrinkage. 

To trim the calyx (the fruit cap that protects the bud and to which the stem is attached), hold the fruit with one hand and a paring knife with the other. Insert the tip of the knife at an angle so it comes out in front of the stem. Using the hand that is not holding the knife, rotate the fruit, and cut all around the calyx to remove the peel. If a stem is missing from a persimmon, use a stainless-steel screw; simply screw it gently into the top of the fruit where the stem was. 

Cut lengths of kitchen string to about 18 inches (46 cm.) long; you’ll be attaching one persimmon to each end of the string. Aim to have a pair of persimmons of similar size on each string. Using a slip knot and tie the ends of the strings to the stem (or stainless-steel screw) of each fruit. Trim the short ends with scissors so they don’t touch the fruit. 

Bring a medium pot of water to a boil and dip the fruit in it for 3 seconds. This will sterilize and kill any bacteria—an important step before you dry the fruit. 

Hang the tied fruit on a rack, making sure the persimmons are not touching one another. Put
the rack close to a sunny window. The rack can be placed outside during the day but must be brought inside at night. Put a newspaper underneath the fruit to catch any dripping juice or fallen fruit. Place a small rotating fan in the room near the persimmons to speed up the drying process and maintain good air circulation; the fan will also keep fruit flies away. 

After a week, check to see if the fruit is dry. If it is dry to the touch, start massaging it. Begin with just a gentle touch once a day—do not squeeze—and work your way up to a gentle massage, but no squeezing. The fruit will start to soften and shrivel. If you see any mold (white or black spores) forming, scrape it away and dab a bit of vodka or other clear liquor in the area. Tie the remaining fruit to the rack and allow it to dry. 

Repeat this daily massage for 3 to 4 weeks until the fruit feels firm but with some softness remaining inside. Cut a piece and taste it. If it is raisin-like in chewiness and sweet, the persimmon is ready. A white coating forming on the surface of the fruit is the natural sugar crystallization, so don’t confuse this coating with mold. The coating is a sign that the fruit is drying properly. 

Remove from the rack and store the fruit in a plastic container or bag in the refrigerator or freezer. It will keep for up to 1 year. You can enjoy it straight—it is great with blue cheese—or steeped as tea with some cinnamon sticks, sliced ginger and honey.

Tags:
Comments are for members only.

Our comments section is for members only.
Join today to gain exclusive access.

This story is on the house.

Life & Thyme is a different kind of food publication: we're reader-first and member-funded. That means we can focus on quality food journalism that matters instead of content that serves better ads. By becoming a member, you'll gain full uninterrupted access to our food journalism and be a part of a growing community that celebrates thought-provoking food stories.